Anúncios
Moving out of a rental can be stressful, but getting your security deposit back doesn’t have to be.
Many renters leave money on the table by not understanding the proper steps to take before turning in their keys.
To receive your full security deposit back, tenants should thoroughly clean the property, repair any damages, document the condition with photos, and schedule a walk-through with the landlord.
These steps help prove you’ve returned the property to its original condition, minus normal wear and tear.
Understanding your rights as a tenant can also protect you from unfair deductions. Landlords must follow specific rules about when and how they can withhold deposit money, which vary by state but generally require itemized deductions and timely returns.
Understanding Your Lease Agreement
Your lease agreement contains vital information about what’s expected when you move out and how to get your security deposit back. Knowing these details before you leave can save you time, money, and stress.
Terms and Conditions Review
Every lease contains specific move-out requirements that directly affect your deposit return. Start by locating your original signed lease document and reading it thoroughly.
Pay special attention to the sections about property condition, cleaning standards, and notice periods. Most leases require 30-60 days’ written notice before moving out.
Look for details about:
- Required cleaning tasks
- Maintenance responsibilities
- Acceptable wear and tear
- Move-out inspection procedures
Many landlords provide a move-out checklist based on lease requirements. If yours doesn’t offer one, create your own list from the lease terms to ensure you don’t miss anything important.
Security Deposit Clauses
The security deposit section of your lease explains exactly how your deposit can be used and when it must be returned.
State laws vary, but most require landlords to return deposits within 14-30 days after move-out. Your lease should specify this timeframe.
Typical deduction reasons include:
- Unpaid rent or utilities
- Damage beyond normal wear and tear
- Excessive dirt or cleaning needs
- Missing items or fixtures
Take photos of your apartment’s condition when you move in and again when you leave. This documentation can protect you if disputes arise about damage claims.
Many leases outline a specific cleaning standard, like “professionally cleaned” or “broom clean.” Understanding these expectations helps you avoid unnecessary deductions.
Pre-Move-Out Strategies
Planning ahead can save you time, stress, and money when moving out of a rental property. The right preparation ensures you’ve addressed potential issues before they affect your security deposit return.
Documenting Pre-Existing Damage
Take detailed photos of your rental unit on the day you move in. Document every scratch, stain, or broken item with clear, dated pictures.
Create a written inventory that matches your photos. Note even small issues like scuff marks, loose cabinet handles, or discolored areas on floors.
Share this documentation with your landlord within the first week of your tenancy. Send it via email to create a timestamp and paper trail of your communication.
Store these records safely in cloud storage or a dedicated folder. This evidence becomes crucial if disputes arise about what damage existed before your tenancy.
Regular Maintenance and Upkeep
Address minor repairs promptly to prevent them from becoming major problems. Replace burnt-out light bulbs, tighten loose screws, and report leaky faucets immediately.
Clean regularly to prevent buildup of dirt and grime. Wipe down surfaces, vacuum carpets, and mop floors at least weekly.
Common Maintenance Tasks:
- Regularly change HVAC filters (every 1-3 months)
- Clean refrigerator coils twice yearly
- Clear shower and sink drains monthly
- Test smoke detectors quarterly
- Treat any pest issues immediately
Keep records of any maintenance you perform or request. This demonstrates your commitment to property upkeep and provides evidence if maintenance-related disputes occur.
The Move-Out Checklist

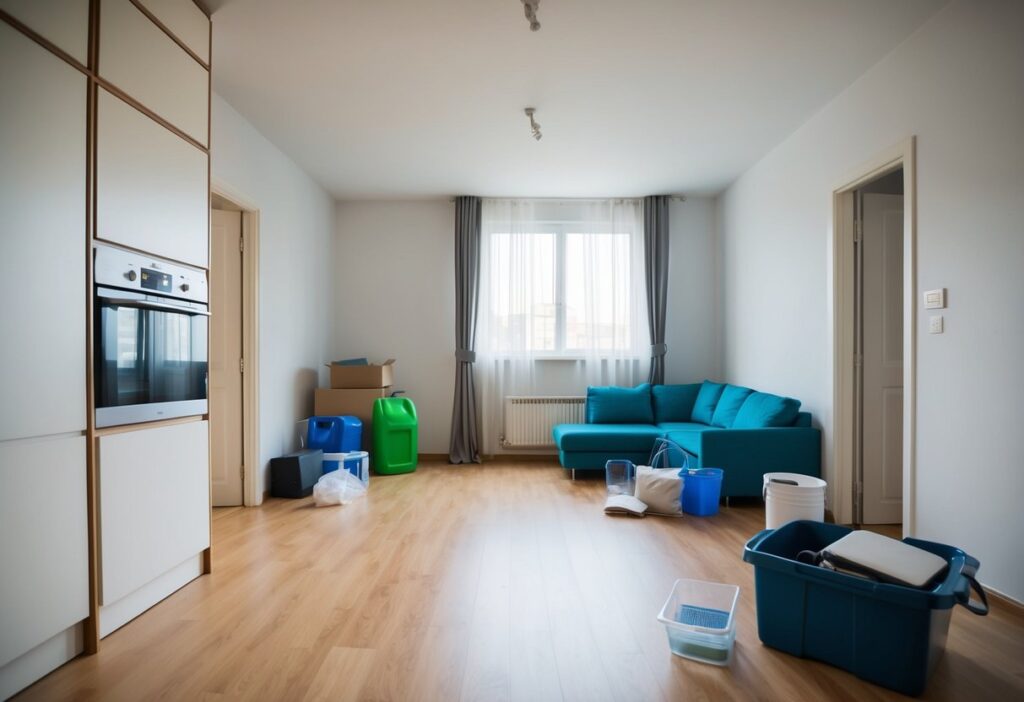
A well-organized move-out process significantly increases your chances of getting your full security deposit returned. Following a systematic approach ensures you don’t miss important details that could lead to deductions.
Cleaning and Repairs
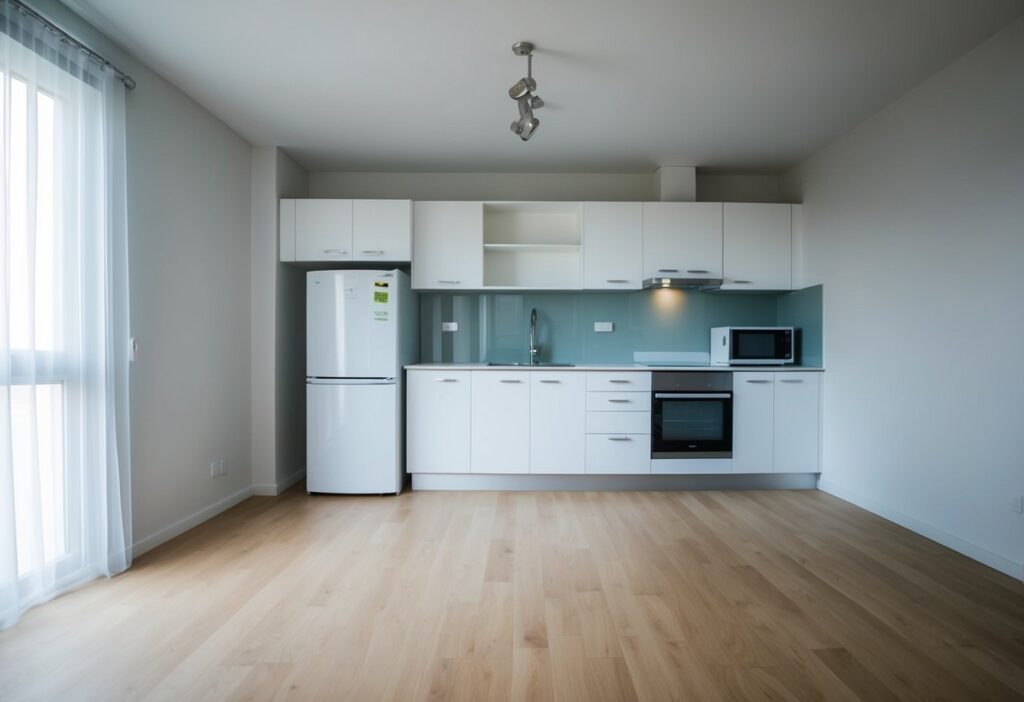
Start by deep cleaning the entire rental unit. Focus on areas that collect dirt and grime like kitchens and bathrooms. Clean appliances thoroughly, including inside the oven and refrigerator.
Remove all nails and wall hangings, then patch holes with spackling compound. Touch up paint if you have the matching color, but check with your landlord first as some prefer to handle this themselves.
Clean all windows, blinds, and window tracks. Don’t forget to vacuum and clean all flooring. For carpets, consider professional cleaning if required by your lease or if there are visible stains.
Replace any burnt-out light bulbs. Fix minor issues like loose doorknobs or cabinet handles. These small repairs show you’ve maintained the property responsibly.
Final Walk-Through
Schedule the final inspection with your landlord at least a week before your lease ends. This timing allows you to address any issues they identify.
Document the condition of the property thoroughly. Take dated photos or videos of each room after cleaning. These serve as evidence of the unit’s condition when you left.
Prepare a detailed list of any existing damage that was present when you moved in. Reference your move-in checklist if you completed one.
During the walk-through, ask your landlord to point out any concerns immediately. Get written confirmation of completed inspection if possible.
Be present during this inspection to discuss any potential deductions face-to-face. This prevents misunderstandings and gives you a chance to resolve minor issues.
Utility Account Closure
Contact all utility companies at least one week before moving out. Schedule disconnection dates for the day after you move out to avoid being without services.
Request final readings for electricity, gas, and water meters. This prevents disputes about billing periods after you’ve moved.
Pay all outstanding utility bills promptly. Unpaid balances might be reported to credit bureaus or forwarded to your new address.
Update your address with each provider to receive final bills or refunds. Keep records of all account closures and final payments for at least a year.
Post-Move-Out Actions

After moving out, there are crucial steps to complete to ensure you receive your full security deposit. Taking care of key returns and properly following up on your deposit claim will protect your financial interests.
Return of Keys
Returning all keys is a critical final step in the move-out process. Many landlords charge replacement fees for missing keys, which can be deducted from your security deposit.
Make a complete inventory of all keys in your possession. This includes apartment keys, mailbox keys, garage openers, and access cards.
Schedule a key return meeting with your landlord or property manager. During this meeting, request a signed receipt confirming all keys were returned. This document serves as proof if disputes arise later.
If an in-person meeting isn’t possible, use a traceable delivery method like certified mail. Include a letter listing all enclosed items and request confirmation of receipt.
Keep copies of all return-related documentation for at least one year after moving out.
Security Deposit Retrieval
Landlords typically have 14-30 days to return your security deposit, depending on local laws.
Know the timeline for your area to ensure prompt action if needed.
Request your deposit be sent to your new address in writing.
This formal request should include:
- Your new mailing address
- Move-out date
- Property address
- Lease details
If you receive an itemized list of deductions, review it carefully against your move-out inspection report.
Challenge any unfair charges by sending a formal dispute letter with supporting evidence like photos or videos from your move-out inspection.
For unresolved disputes, consider small claims court or contacting your local housing authority.
Many areas have tenant resources to help navigate deposit disputes.